Setting up your PODOStation for the first time with a new device or WiFi network
1. Make sure your laptop/PC is connected to your normal/preferred WiFi network.
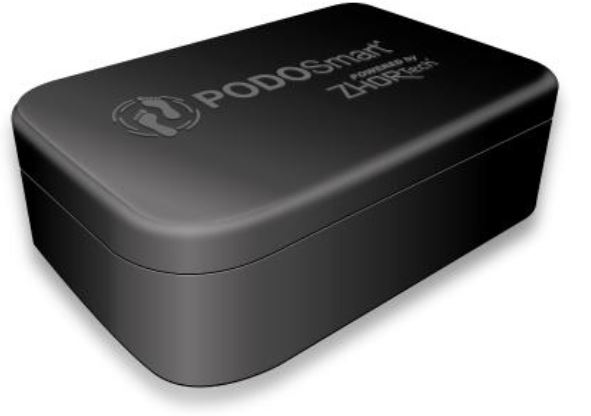
2. Connect the PODOStation to your laptop/PC
Plug your PODOStation into an USB port of your computer and wait for it to start (approx. 60s). You may see a message saying “Setting up BeagleBoneGreen”. This is your PC recognising your PODOStation for the first time. Once it is connected you should see the PODOStation listed in your available WiFi connections.
3. Access the configuration page
Using either Google Chrome (available from https://www.google.com/chrome/) or Mozilla Firefox (available from https://www.mozilla.org/en-GB/firefox/new/) browser, open a page in your chosen browser and go to the following link : http://config.podosmart.tech
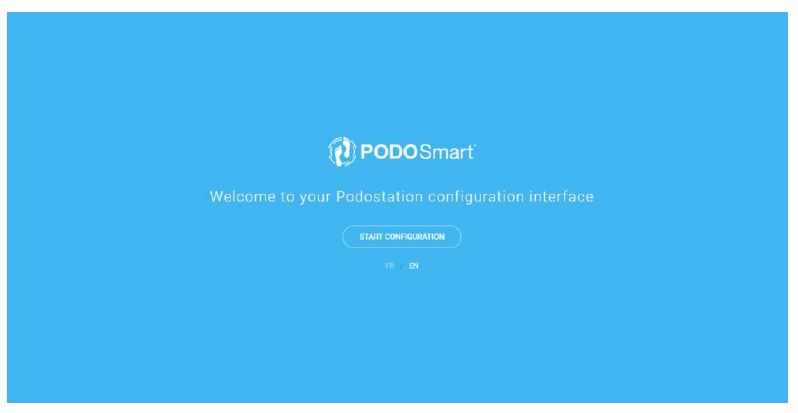
You will then access the configuration page of your PODOStation, follow the 8 configuration steps:
Step 1: Click on Start configuration
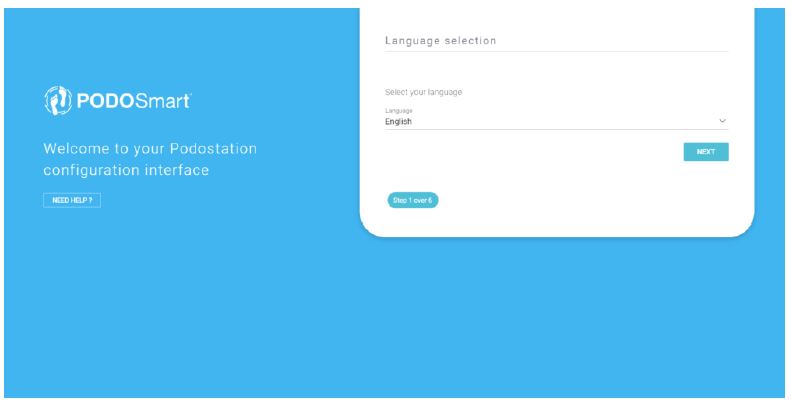
Step 2: Choose your language, then click on Next
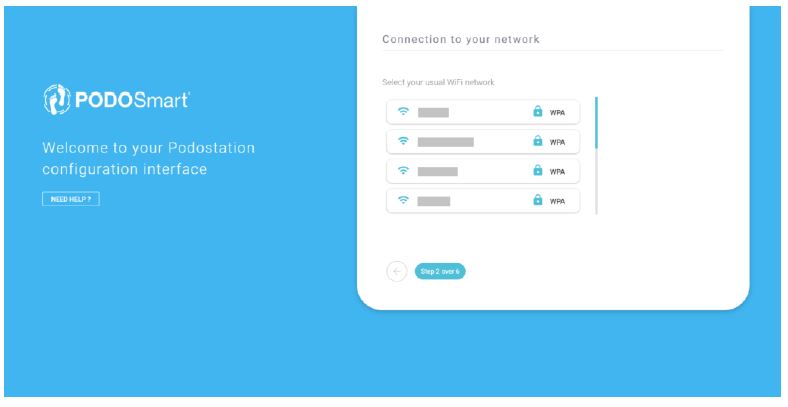
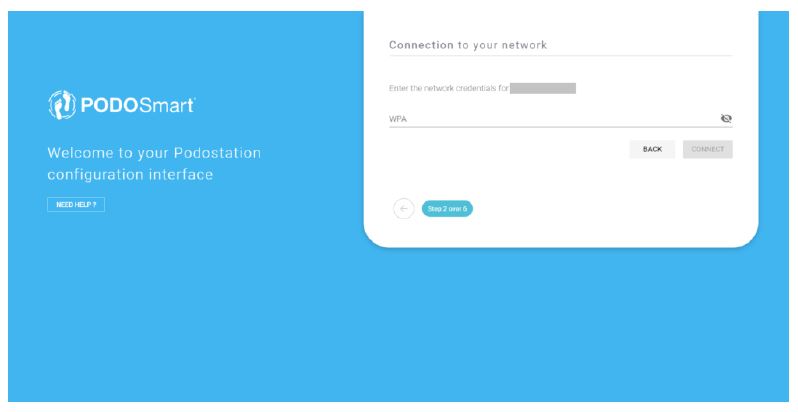
Step 3: Select your usual WiFi network
Step 4: Enter your WiFi password (you can click on the eye symbol at the end of the password line to check if you have entered the correct details) and click on Connect
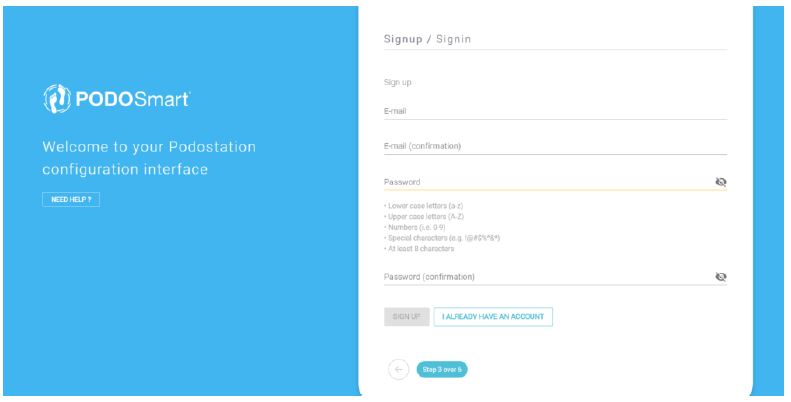
Step 5: To create your account, click on “I don’t have an account” then fill in the fields and click on Sign up. Make sure that you make a note of the password you have used to create the account as this will be used to access the account whenever you wan
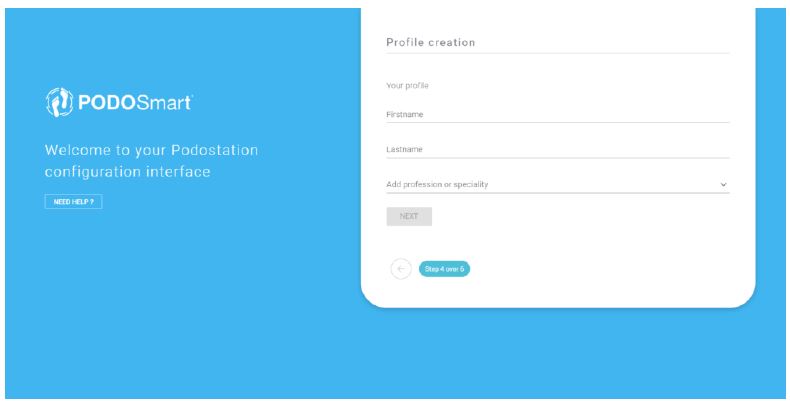
Step 6: To create your profile, fill in the fields and click on Next
Step 7: Fill in the information about your practice, then click on Next. You may need to edit an existing type if Podiatrist is not listed. Click on the pencil symbol and overtype one of the other entries if necessary.
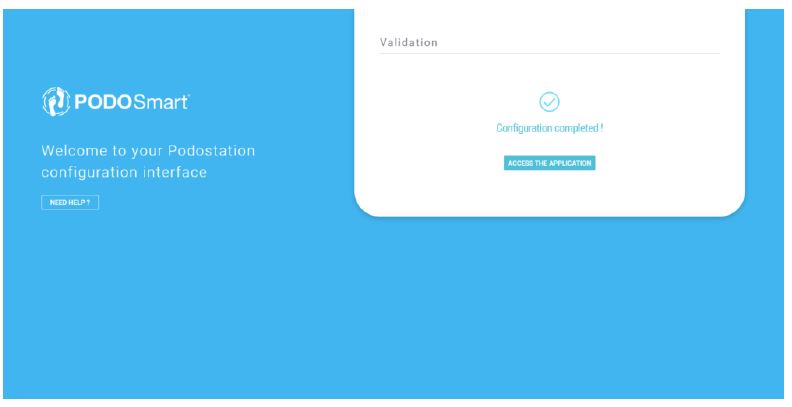
Step 8: The configuration is complete. You will receive an email to validate your account
Once your account is activated, you can plug your PODOStation into an electrical outlet and access the software via this link : https://app.podosmart.tech
Useful help pages can also be found at https://www.podosmart.tech/help
NOTE
Any time you use a different device (laptop/PC) with your PODOStation or a different WiFi network you will need to repeat steps 1 to 4 and choose “Login” at step 5.
Next Steps (patient creation, acquisition and troubleshooting)
1. Charge your insoles
Step 1. Plug your insoles directly into the PODOStation with the white cables provided, being careful to insert the smaller USB plug the correct way up into the charging port located behind the small cover on the instep of each insole. You can charge up to 4 pairs of insoles at any one time.
Step 2. You will need to click on the refresh icon within the software to check on the charge level once you have unplugged the insoles from the PODOStation (please note that you will NOT be able to see the charge level whilst plugged in and charging).
Troubleshooting. If you are unable to see the charge level even after clicking on the refresh icon your insoles may have “gone to sleep” (to save power they automatically shut down looking for a connection to the PODOStation after approximately 20 minutes). To “wake them up” you should give them a firm shake (please do NOT strike them on a hard surface as this may damage the sensors).
2. Carry out a patient acquisition for the first time
Step 1.If you are not already logged into the software interface, log into https://app.podosmart.tech.
Step 2. Click on Patients tab (on left hand side of the screen).
Step 3. Click on the add patient icon and fill in the details. You will need to enter a numeric code in the Zip/Postal code field (we suggest 12345). Once all fields have been completed, click on the save icon.*
Step 4. You can now insert the appropriate pair of insoles into the patient’s shoes ready to carry out the acquisition. TIP: If you have not used the insoles in a while, give them a firm shake to ensure that they are “awake” to avoid embarrassment when you carry out the assessment!
Step 5 Select the appropriate patient from the patient list (assuming you have other patients already created).
Step 6. Click on the START AN ACQUISITION link. Ensure that the patient is stood within 1 to 2 metres of the PODOStation.
Step 7. Select the appropriate pair of insoles from the list. The PODOStation will now look for the insoles and connect to them.
Step 8. Once the software tells you to start the acquisition, your patient can begin walking. They will need to walk a minimum of 10 steps to enable a successful calibration, acquisition and data analysis. TIP: We recommend that you encourage the patient to walk around for a few minutes so that they walk naturally.
Step 9. Once your patient has taken sufficient steps, ensure that they are standing within 1 to 2 metres of the PODOStation and click on the STOP ACQUISITION link. The software will connect to the insoles again and download the data before sending this to our servers for analysis. The results will be displayed shortly on your screen.
*add patient button

Troubleshooting.
If you are unable to connect to the insoles, make sure that they are charged.
If you are still unable connect to your insoles they may have “gone to sleep” (to save power they automatically shut down looking for a connection to the PODOStation after approximately 20 minutes. To “wake them up” you should give them a firm shake (please do NOT strike them on a hard surface as this may damage the sensors).
If you are still unable to connect to the insoles, plug them into the PODOStation and unplug them again as if you were charging them. This will reset the hardware.
If this still does not work, check that your PODOStation is connected and operational (the blue lights should be blinking on the PODOStation and it should be visible in the Equipments tab with a green icon to denote that it is successfully connected to your PC).
If the PODOStation is connected but your insoles will still not connect, please contact Canonbury Customer Services.
If the PODOStation is not connected ensure that you have correctly followed the instructions in pages 1 to 3 of this document.
If the problem still persists, please contact Canonbury Customer Services.
If you have completed an acquisition successfully but the page states that it is invalid, ensure that the patient has taken at least 10 steps.
If the patient has taken the minimum number of steps, click on the STOP ACQUISITION link and refresh the web page by using F5 on your keyboard.
If this has still not worked, repeat the acquisition from the beginning, being careful to ensure that the patient remains close to the PODOStation whilst connection (steps 6 and 9) is underway.