Instrument Care
- Josephine Smith
- Canonbury
- 16 Oct 2026 views
Podiatry Instrument Care: A Guide to Cleaning, Sterilisation and Maintenance
Correct instrument care helps protect patients, maintain performance and extend the working life of reusable podiatry instruments. From nail nippers to other jointed instruments, effective care involves more than placing used tools in an autoclave.
Reusable podiatry instruments must be thoroughly cleaned before sterilisation, checked for cleanliness and damage, and maintained according to the manufacturer’s instructions. Prompt cleaning, appropriate lubrication and careful handling all contribute to a reliable instrument-care routine.
This guide explains the main principles of cleaning and maintaining reusable podiatry instruments with reference to the Royal College of Podiatry’s Clinical Standard 8: Decontamination of Reusable Podiatry Instruments, version 2, 2025.
Always follow the instructions for your instruments, cleaning products and decontamination equipment, alongside current professional guidance and your practice’s documented procedures.
1. Choose the correct instrument for the task
Instrument care starts with how you use the instrument.
Select a tool designed for the procedure and the level of force required. Using a small, delicate nail nipper on a thickened nail can damage the cutting edges and place unnecessary pressure on the spring or joint.
If an instrument struggles to perform its intended task, check its condition and suitability before applying more force. A damaged or poorly functioning instrument should be assessed before further use.
2. Clean used instruments promptly: don’t let debris dry
Clean used instruments as soon as reasonably practicable. If immediate cleaning is not possible, immerse suitable contaminated instruments in cold water to prevent blood, tissue and other debris from drying and becoming encrusted.
Dried contamination can be harder to remove, particularly around hinges, joints and textured surfaces.
Avoid hot water or disinfectant at this initial stage, as these can cause proteins to coagulate, making effective cleaning more difficult. Cold-water immersion is a temporary measure to prevent drying; it does not replace cleaning or sterilisation.
Check that the instrument is suitable for immersion and follow the manufacturer’s instructions and your practice’s procedures for handling contaminated instruments.
3. Use an appropriate manual and automated cleaning process
Effective cleaning is essential before sterilisation. Instruments need to be free from visible contamination before progressing to the next stage of decontamination.
Manual cleaning
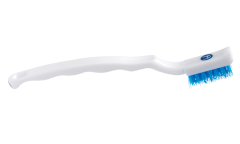
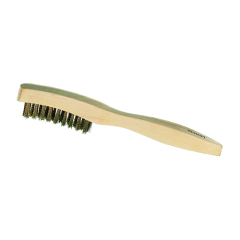
Manually clean instruments while submerged, using an appropriate soft-bristled brush and a suitable cleaning solution. Keeping the instrument beneath the surface helps minimise splashing and aerosols.
Pay particular attention to areas where debris can collect, including:
- Hinges and joints.
- Serrated or textured surfaces.
- Cutting edges.
- Other areas that are difficult to reach.
Follow the cleaning-product manufacturer’s instructions for dilution, temperature and contact time, together with the instrument manufacturer’s instructions.
Ultrasonic cleaners and washer-disinfectors
Automated methods, such as ultrasonic cleaners or washer-disinfectors, can provide additional cleaning following manual cleaning and are recommended wherever practical.
Washer-disinfection is the preferred automated method because it offers greater control and validation of the cleaning process.
Ultrasonic cleaning should therefore not be described as the ‘gold standard’. It is an additional cleaning method and does not replace steam sterilisation.
Use and maintain automated cleaning equipment according to its instructions and the decontamination procedures applicable to your practice.
4. Inspect instruments before sterilisation
After cleaning, check every instrument to ensure it is visibly clean, functional and in good condition.
Look closely at cutting edges, hinges and joints. Check for remaining debris, damaged tips, corrosion and problems with movement or alignment.
If visible contamination remains, the instrument needs further cleaning before sterilisation. If damage is present, remove it from use pending assessment.
Inspection is also an opportunity to identify instruments that need maintenance or replacement before their performance deteriorates.
5. Use steam sterilisation for suitable reusable podiatry instruments
Steam sterilisation in an autoclave is the recommended sterilisation method for reusable podiatry instruments that are designed for this process.
Cleaning and sterilisation are separate stages. An autoclave does not replace thorough cleaning.
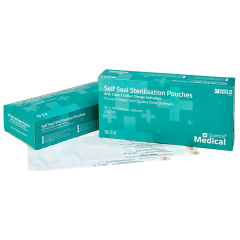
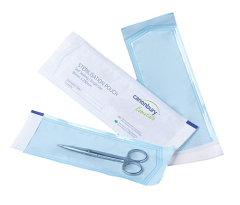
Follow the instrument and autoclave manufacturers’ instructions when preparing and processing the load. The sterilisation cycle must be suitable for the instruments and their packaging.
Operate, test and maintain your autoclave in accordance with the requirements that apply to your practice. Only process instruments labelled as reusable and suitable for the chosen method.
6. Investigate staining and discolouration
Marks on an instrument should be checked rather than assumed to be harmless.
Discolouration can be associated with water quality, residual moisture, incompatible materials or processing conditions. However, a mark may also indicate remaining contamination or corrosion.
Before treating an instrument, identify the likely cause and check the manufacturer’s care instructions.
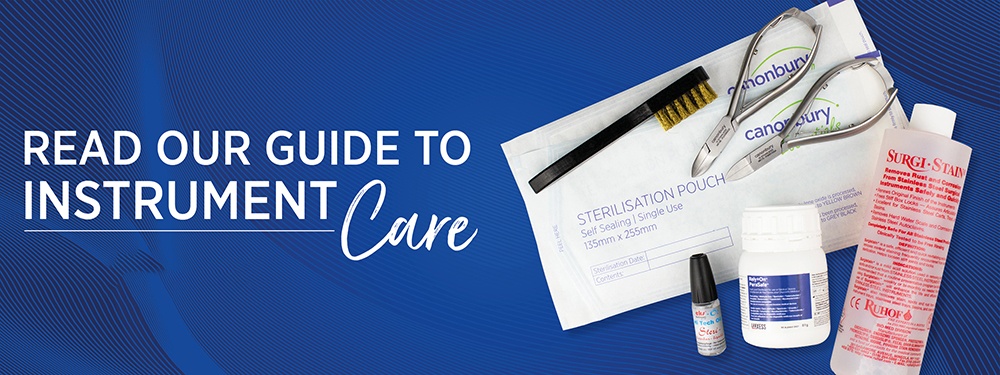
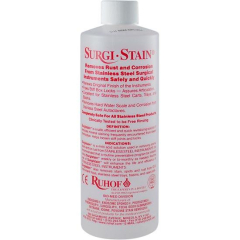
A specialist product such as Surgistain may be appropriate for compatible instruments with removable staining, provided it is used according to the product and instrument instructions. Stain removal does not repair corrosion, pitting or physical damage, and it does not replace cleaning or sterilisation.
If staining repeatedly returns, review the cleaning and sterilisation process to help identify the cause.
7. Lubricate jointed and hinged instruments appropriately
Jointed and hinged instruments may need lubrication to maintain smooth movement and reduce wear.
Use a proprietary surgical instrument lubricant suitable for the instrument and compatible with its sterilisation process. Follow the manufacturer’s instructions for where, when and how much to apply.
General-purpose oils and anti-seizing sprays are unsuitable substitutes. They may damage instruments or sterilisation equipment.
If a joint remains stiff after appropriate cleaning and maintenance, arrange an assessment before continuing to use the instrument.
8. Handle and store instruments carefully
Careful handling helps protect delicate cutting edges and tips.
Dropping a nail nipper can distort its tip or affect alignment, reducing its effectiveness. Check any dropped instrument for damage and follow the appropriate decontamination procedure before considering reuse.
Store processed instruments according to their packaging requirements and your practice’s procedures. Keep them protected from damage, moisture and contamination, and check packaging integrity before use.
Frequently asked questions about podiatry instrument care
What should I do if I cannot clean instruments immediately?
Immerse suitable contaminated instruments in cold water to prevent debris from drying and becoming encrusted. Clean them as soon as reasonably practicable. This temporary measure does not replace the full decontamination process.
Why should I avoid hot water before cleaning?
Hot water can cause proteins in blood and tissue to coagulate, making contamination harder to remove. Follow the specified temperature when preparing the cleaning solution for the subsequent cleaning stage.
Does ultrasonic cleaning sterilise instruments?
No. Ultrasonic cleaning helps remove contamination. Suitable reusable podiatry instruments still require steam sterilisation after effective cleaning and inspection.
Do instruments need to be cleaned before autoclaving?
Yes. Thorough cleaning is essential before sterilisation. Instruments should be visibly clean and checked for damage before being processed in an autoclave.
Can I use ordinary oil on nail nippers?
Use a surgical instrument lubricant that is compatible with the instrument and its sterilisation process. General-purpose oils and anti-seizing sprays are unsuitable.
Should I replace a stained instrument?
Staining needs assessment. Some discolouration may be removable with an appropriate specialist product, but corrosion, pitting or physical damage requires further assessment and may mean the instrument needs replacing.
Support your instrument-care routine
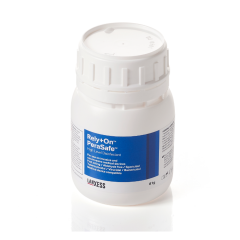
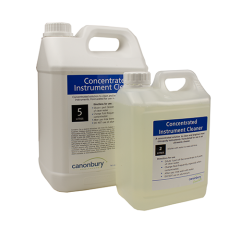
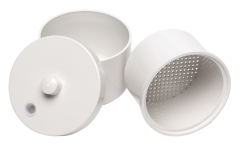
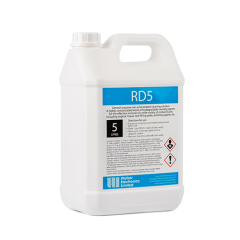
Choosing suitable cleaning products, brushes and instrument lubricants can help you maintain a consistent care routine.
Explore Canonbury’s instrument-care products and check each product’s intended use and compatibility with your instruments and equipment. If you need help selecting a product, contact our team.
Shop instrument Cleaning

Posts